
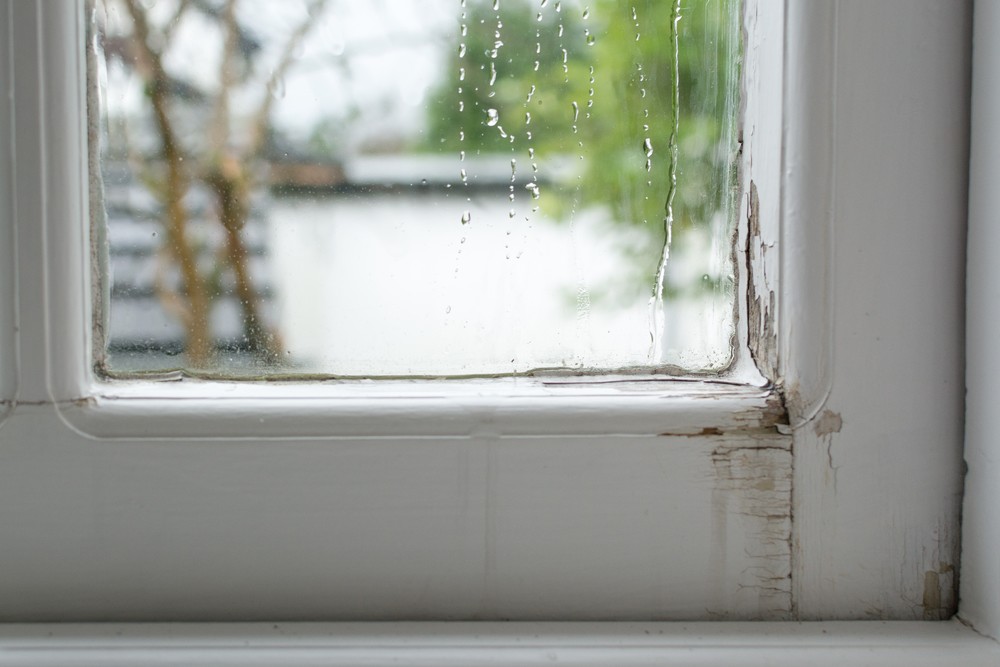
Leaking window repair is what everyone has to do at least once in their lives. Windows are similar to a human, which grow old after some time and may not work well without good maintenance.
So, how to fix window leaks when it rains, what should you do? Everything will be revealed in the subsequent content. Keep reading it and you will see.
How To Fix Window Leaks When it Rains
1. During the rain
Whatever you do during the rain, it’s only temporary. No one wants to get outside in the middle of the heavy rain only to repair a leak. To prevent water from flowing through the leak and dropping on your floor, you need to find some absorbent material and place it on the place where water flows in.
It can be a towel, cloth, or sponge. Just cram it into the leak and it will absorb the water for you. You may want to put a bucket right under the window. So, it will be convenient to remove water from the absorbent material when it is all wet.
2. After the rain
After you have survived through the rain with the simple method above, it’s time to start permanent leaking window repair and end the leak once and for all. There are two common ways that you can follow and I will show you each recommended step.
Caulk the leak
The best method that can extend the durability of the windows up to 15 years is to caulk them. Normally, the water spills through the windows because of the disintegration between the wall and the frame. Therefore, before caulking anything, you need to test where that breakdown lies on the windows.
You can do that by burning several incense sticks and hold it near the window frame. Where their smoke flickers into the house is where the leaks are. Use a pen to mark it and we will begin repairing the windows.
Step 1: Remove the old caulk

Before working on leaking window repair, you need to identify where the old caulk is and remove it. Otherwise, the new caulk will not have any spare space to absorb and the leaks may continue.
The old caulk is located on the interstice between the frames and the wall, the frames and the windows, and where the windows meet one another. You can use a putty knife or scraper to thrust and pick all the caulk out.
Step 2: Prepare the caulking gun
This step will take only some seconds. If you don’t have a caulking gun and tube yet, you should buy them now. Before starting the process, insert the tube into the gun. Make sure that they fit perfectly with each other so that the caulk will spray evenly on the leaks.
Then, cut the tip of the caulking tube nozzle. If the leaks are small and you only want a sufficient amount to cover it, cut a little, which is about a quarter-inch. That is quite enough for most cracks. If you desire for a larger amount, just cut the nozzle down further.
Step 3: Puncture the seal
It is relatively important to do this step because it decides how well the caulk flows. To make it coherent, you can insert a nail or the tip of a hanger through the hole on the nozzle that you have just cut. After that, push it down until you feel that it has punctured the seal.
Step 4: Apply the caulk